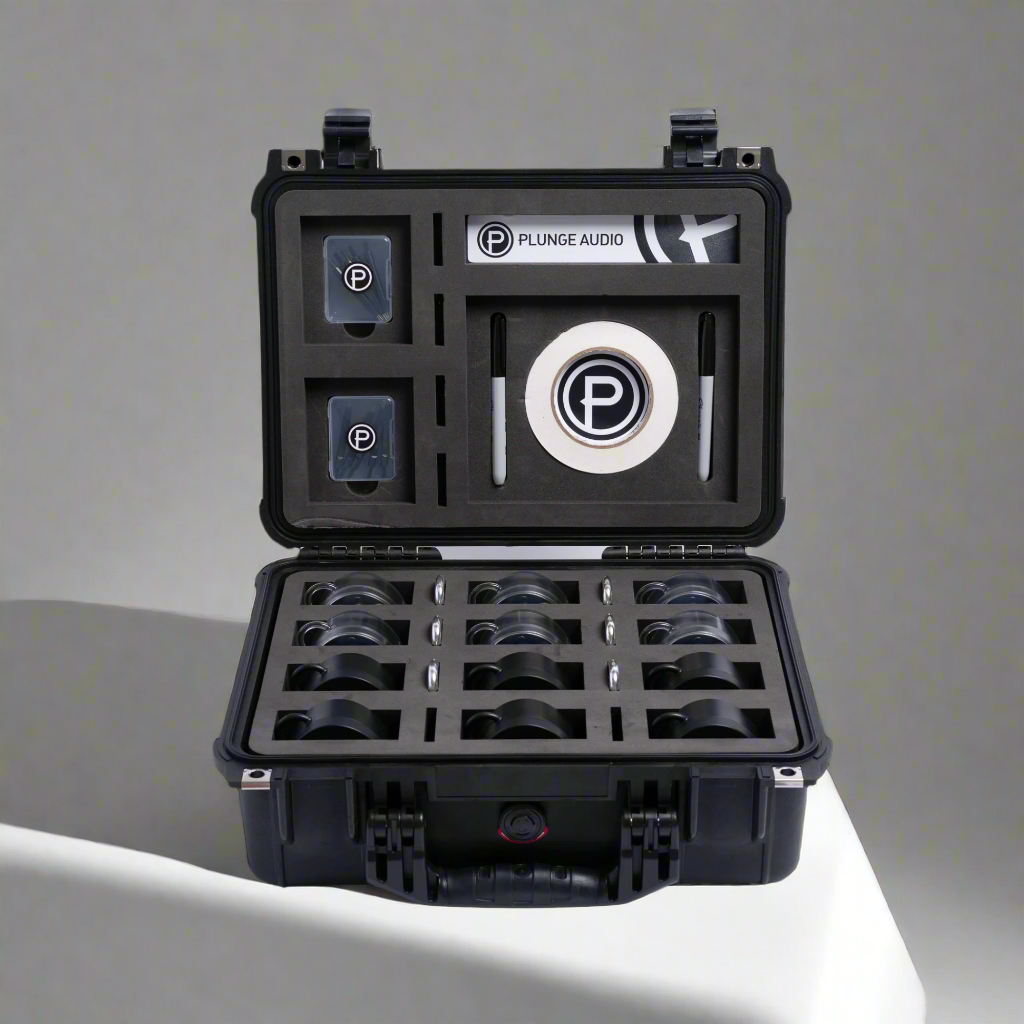
Photo Credit: Jay R. McDonald @jayrmcdonald
Whether you're new to in-ear monitors (IEMs) or just want to get the most out of your gear, learning how to insert IEMs properly is one of the most important things you can do. A proper fit affects everything—from sound quality to isolation to long-term comfort. In this guide, we’ll break down the steps to help you insert your IEMs correctly, avoid common mistakes, and improve your overall listening experience.
Why Proper Insertion Matters
Most issues with IEMs come down to one thing: fit. A poor seal can result in:
- Thin or tinny sound
- Lack of bass response
- Unwanted ambient noise
- Ear fatigue or discomfort
- Reduced isolation and hearing protection
A great seal, on the other hand, improves clarity, enhances bass, and keeps your mix tight and controlled.
Step-by-Step: How to Insert IEMs the Right Way
1. Choose the Right Tips
Not all ears are the same, so take time to test different tip materials (foam vs. silicone) and sizes (S, M, L, XL).
- Foam tips conform to your ear and provide excellent isolation.
- Silicone tips are more durable and easier to clean, with a slicker feel.
- Tip too small? Poor seal.
- Tip too big? Pressure, discomfort, and early fatigue. It also won’t allow the IEM to go deep enough into the ear, which can also lead to a poor seal.
Tip: Even if you think you have big ears, try smaller ones than you think to see if a smaller tip gets the IEM deeper into the ear canal.
🛒 Plunge Audio carries premium tip options like SpinFit, Sonicfoam, and Tangzu. Shop Tips Now.
2. Insert with a Twist (Not a Push)
Once you’ve chosen the right tips, insert them gently but firmly.
- Roll foam tips between your fingers to compress.
- Pull up and back on your ear to straighten the canal.
- Insert at an upward-forward angle toward your nose.
- Hold foam tips in place for 10–15 seconds to allow expansion and full seal.
Pro tip: It should feel snug—not painful. If the sound is hollow or shrill, the seal isn’t right yet.
3. Secure the Cable Over Your Ear
Most IEMs, like our Stage and Dynamic, are designed with an over-ear cable.
- Loop the cable over the top of your ear.
- Adjust the cinch or memory wire (if applicable) to keep it in place.
- This helps reduce microphonics (cable noise) and keeps the IEMs from falling out during movement.
4. Check the Seal
After insertion, try this quick test:
- Lightly tap your teeth or jaw—do you hear a low “thump” in your ears? That means the seal is working.
- Try playing music with bass-heavy content. If the bass feels full and present, you’re good to go.
5. Adjust for Long-Term Comfort
Even with a great seal, comfort is key—especially for long sessions.
- Take breaks during rehearsals or gigs.
- Try alternating between tip types if your ears get sore.
- Clean your IEMs and tips regularly to avoid buildup that can affect comfort and sound.
Common IEM Insertion Mistakes to Avoid
- ❌ Shoving them straight in without angle or care
- ❌ Skipping the tip test and settling for whatever’s on the IEMs out of the box
- ❌ Not looping cables properly, which leads to dislodged monitors during movement
- ❌ Using the wrong size tips and wondering why everything sounds off
Watch: How to Insert IEMs Like a Pro
Prefer to see it in action? We've put together a quick tutorial to walk you through everything.
Ready to Upgrade Your Fit?
Explore our full range of premium ear tips and in-ear monitors designed for clarity, comfort, and control—on any stage.


